
First site back after the summer break, I’m standing on a sloped Hamilton South block with a stringline, a soil auger, and a nervous owner asking if the wall will “stay put” this time. The short answer: it will—if the groundworks are right. That starts with choosing professional excavation services Newcastle homeowners trust to plan drainage, bearing, and access before a bucket hits dirt. Retaining walls don’t fail in a week; they fail in the design and the dig. Get those two right, and the blocks, sleepers, or reinforced concrete have a fighting chance against water, time, and clay that swells like a sponge.
Why site prep decides whether a wall lasts
Walls aren’t just blocks and bolts; they’re ground, water, and load paths organised into something predictable.
Soil reality check: Identify expansive clays, sandy lenses, or fill. The soil report sets footing depth, width, and compaction targets.
Loads mapped early: Surcharges from driveways, pools, or future sheds change footing size and steel. Plan for tomorrow, not just today.
Water goes somewhere: Behind every wall is a drainage story—filter fabric, free-draining backfill, geocomposite, and an outlet.
Access sets the method: Tight lanes, overhead services, and neighbours’ fences dictate machine size and sequence.
I’ve rebuilt more “good-looking” walls than I’ve built ugly ones. The pretty ones failed because water and soil didn’t get a say in the plan.
Regulations without the headache
Excavation is regulated for a reason: it’s heavy kit, hidden services, and ground that shifts when you least expect it. A little reading keeps crews safe and projects compliant.
Service locating: Dial-before-you-dig, potholing, and exclusion zones for gas, water, and power.
Benching and shoring: Even shallow trenches can move; temporary support keeps people and neighbouring structures safe.
Spoil placement: Keep spoil away from the edge to avoid surcharge loads that collapse faces.
Traffic and neighbours: Spotters, fencing, and clear access times reduce friction (and risk).
For a compass on safe practice, look for information about excavation safety guidelines in Australia. It explains hazards, controls, and when engineered support is non-negotiable—useful context when you’re comparing quotes.
Matching excavation method to soil and slope
Not all dig strategies are created equal. The right method flows from the ground you’re cutting and the wall you’re building.
Cut-and-replace in reactive clay: Excavate to design depth, install subsoil drainage, then backfill with free-draining aggregate (wrapped) to keep water off the wall.
Stepped footings on fall: Break the footing into steps to maintain embedment and reduce over-excavation.
Tight sites: Mini-excavators and posi-tracks reduce swing radius; spoil moves via skip bins or conveyor.
Shallow rock or shale: Saw-cut faces for neat seats, or bring in a rock hammer with vibration limits near existing structures.
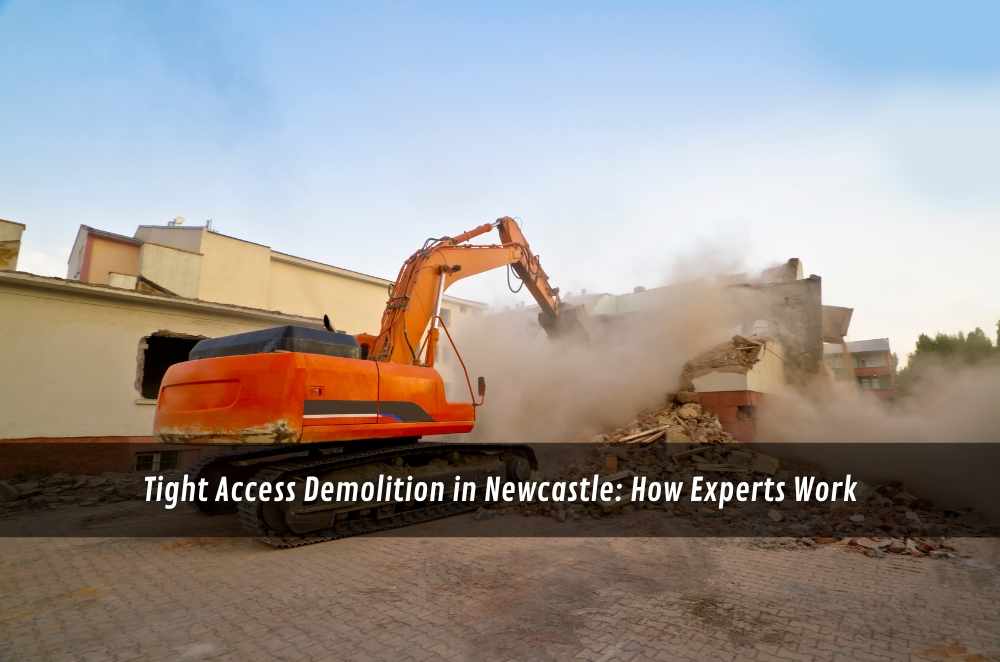
If the access is the real villain, a practical read on tight access demolition in Newcastle shows how pros sequence small machines, spotters, and staging bays to keep neighbours happy and schedules intact.
Drainage, backfill, and compaction (the quiet heroes)
Most wall failures are water problems disguised as engineering problems.
Geofabric smarts: Separate soil from aggregate so fines don’t creep and choke the drain.
Perforated ag pipe with fall: Continuous run to daylight or a sump—no dead-ends to breed smells or pressure.
Free-draining backfill: Crushed rock graded for flow; never garden soil against the wall.
Layered compaction: Thin lifts, plate-compacted, tested where spec’d. Over-zealous compaction near the wall? Use lighter gear to avoid pushing the wall out.
Small, dull details—pipe slope, clean aggregate, taped joins—are what keep the wall calm in a Hunter downpour.
Choosing the right wall system (tie it back to the dig)
The wall you pick determines the excavation you need.
Concrete sleeper with steel posts: Needs precise pier locations and depths; excavation is narrow but deep at posts.
Block walls (reinforced): Wider trench for footing, room for steel, and space to work the compactor.
Timber sleeper (treated): Faster install, but mind durability classes and ground contact; still needs serious drainage.
Segmental systems: Tighter tolerances on base prep; laser-true bedding saves a world of rework.
For a broad, non-competing overview of categories, an explainer on types of excavation services helps homeowners see why some digs are surgical while others move bulk fast.
Budget, timeline, and quality checks
Numbers behave when the scope is clear. Here’s how we keep quotes honest and walls truthful.
What drives cost: Soil class, access, spoil disposal distance, trench support, and drainage complexity.
Time markers: Mark-out day, dig day, inspection (where required), drainage, backfill, then wall install. Rain buffers matter in Newcastle’s storm season.
QC you can feel: Level and compaction tests, drain falls checked with a level, and photo logs of fabric and pipe before backfill.
Across Newcastle, you’ll see crews like Watson Demolition & Site Services compare methods with peers such as Lakeside Demolition, while homeowners sanity-check details and examples on Houzz. Those cross-references keep scopes realistic and results consistent—level bases, drains with proper fall, and backfill that actually breathes after rain.
Common mistakes (and simple fixes)
Most failures start as shortcuts.
Backfill first, drain later: The pipe gets buried wrong or flat. Fix: Drain layout installed and photographed before any backfill.
No separation fabric: Fines migrate, drains clog. Fix: wrap aggregate; overlap joins; tape cuts.
Over-excavation with no plan: Big holes need extra concrete and time. Fix: pre-plan steps and benching; mark depths on pegs.
Ignoring surcharges: Driveways and pools close to the wall need engineering baked in, not added after the dig.
When a quote is thin on drainage and compaction detail, you’re not buying a wall—you’re buying a problem with a warranty you’ll need.
A quick case from the trenches
Charlestown, corner block, 1.6-metre wall replacing a tired timber line. Soil was reactive clay over patchy fill. We set stepped footings, laser-checked base levels, then ran geofabric and a continuous ag pipe to daylight at the low corner. Free-draining backfill went in by thin lifts with light compaction against the wall, heavy away from it. Rain hit mid-week; the trench stayed stable and the drain ran clear at the outlet. Six months later, the turf above stayed flat, no bulges, and the weep holes breathed after storms. Nothing flashy—just a dig that respected soil, water, and weight.


Write a comment ...